Configuring MSU-Secure on Windows 8
The following instructions are for configuring an MSU-Secure wireless network connection on a device that has a Windows 8 operating system such as a smart phone or Surface tablet.
Need Help? Visit the IT Services Desk in the Library Commons or contact them at 994-1777 | helpdesk@montana.edu.
- Summon the charms bar by:
- using a mouse (point at the top or bottom right corners)
- or a keyboard (press the Windows key + C)
- or touching screen (slide your finger inward from the screen's right edge).
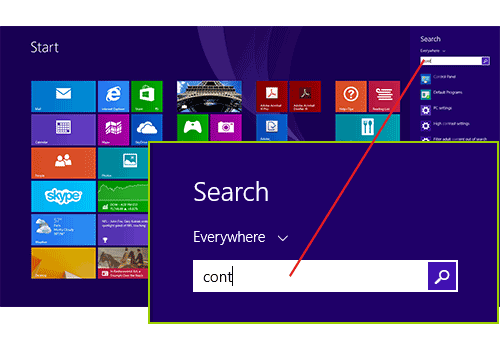
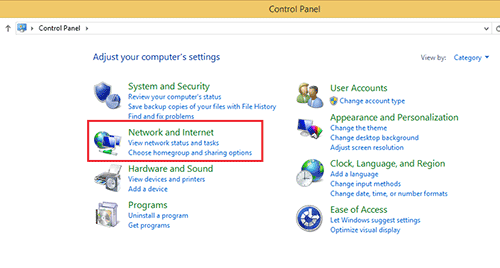
- Click Network and Internet.
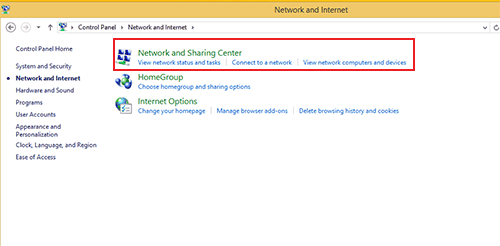
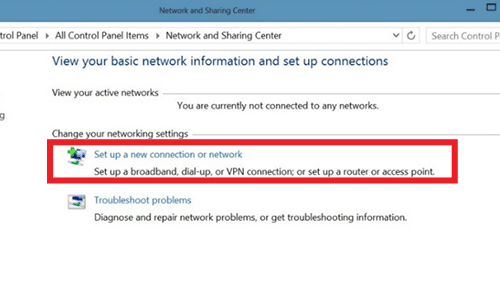
- Click Network and Sharing Center.
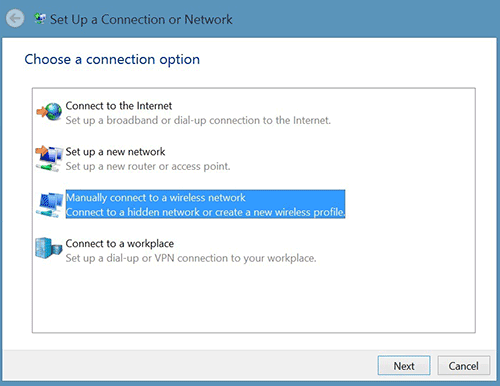
- Select Manually connect to a wireless network.
- Enter and verify the following information:
- Network name: MSU-Secure
- Security type: WPA2-Enterprise
- Encryption type: AES
- Check the box: Start this connection automatically.
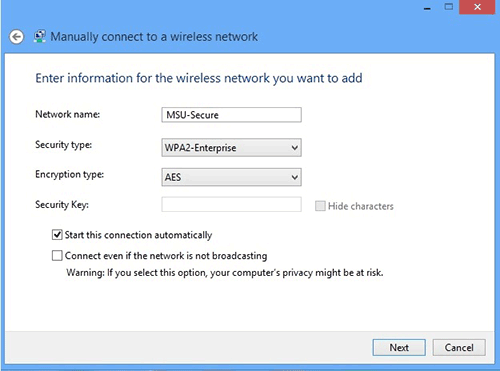
- Click Next.
- Click Change connection settings.
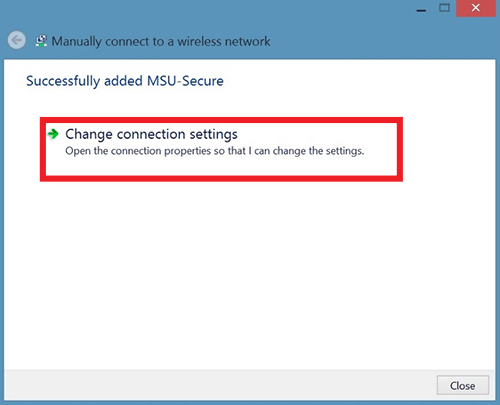
- Click Setup a new connection or network
- Click the Security tab.
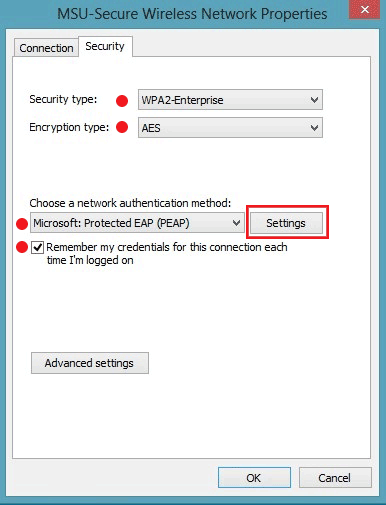
- Verify the network authentication method is PEAP
- Check box next to: Remember my credentials.
- Click the Settings button.
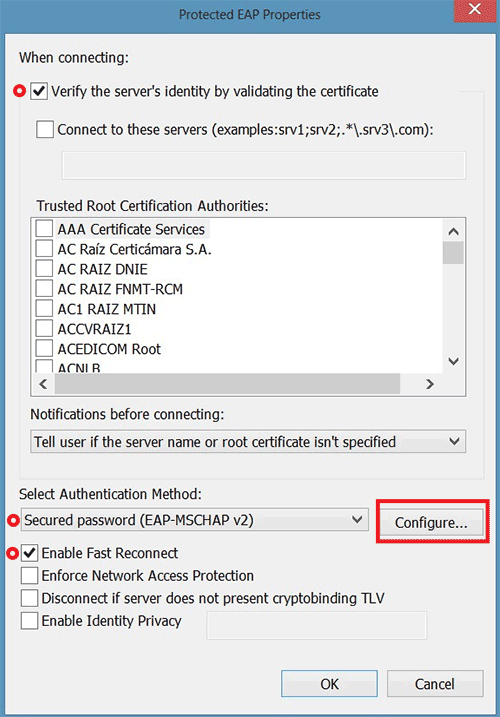
- Check the box next to Verify the server's identity by validating the certificate.
- Verify the Authentication Method is set to EAP-MSCHAP v2, then click the Configure... button
- Check box next to Enable Fast Reconnect.
- Click Configure... button
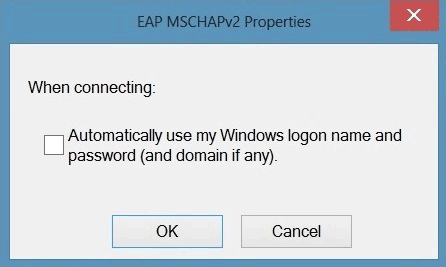
- Uncheck the box and click OK.
- Click OK again.
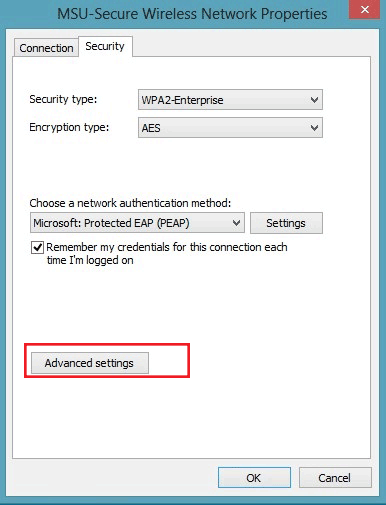
- Click the Advanced settings button.
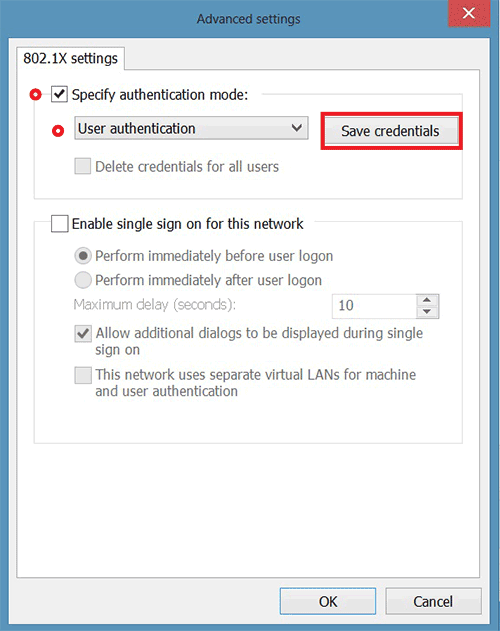
- Check the box next to Specify authentication mode.
- Select User authentication.
- Click the Save credentials button.
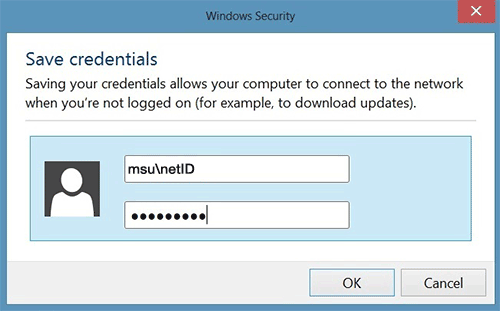
- Enter your MSU NetID and password.
Be sure to enter msu\ before your NetID as shown in image above. - Click OK on the remaining prompts to close all windows.
 Return to top