Custom R Environments with Mamba
Creating a Mamba environment for specific R versions
Tempest is now configured to run RStudio-Server on compute nodes.
RStudio-Server will accept any version of R you have installed. RCI recommends using Mamba (aka. Anaconda) environments as they are easily managed and R packages (extensions) are easily installed with all the proper dependencies.
To install R versions beyond the default 4.2.1, log into Tempest through the Terminal:
ssh <NetID>@tempest-login.msu.montana.edu
To create a mamba environment with a new version of R:
module load Mamba
mamba init # ONLY run this if you haven't initialized the shell
mamba create -n <name> r-base='VERSION' #<name> is the name of the environment
To get a list of available R versions (only a subset of output shown below):
mamba search r-base # r-base is the base R package
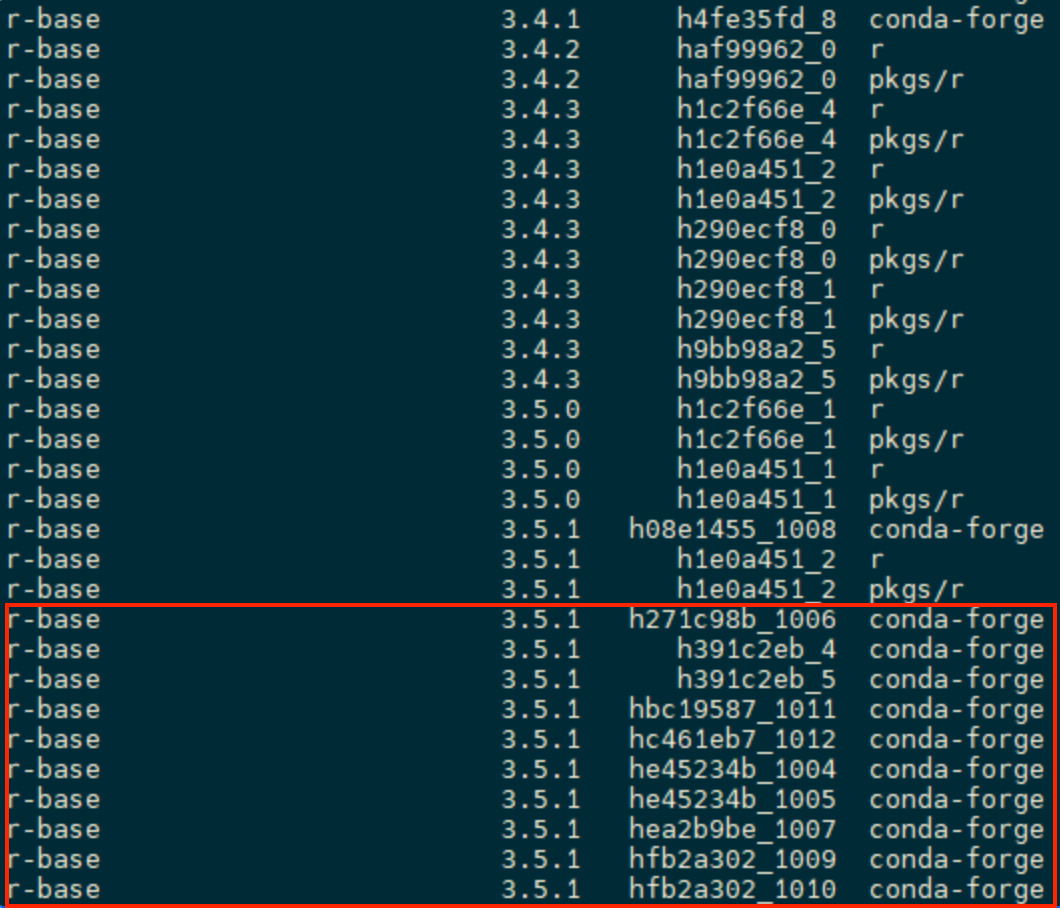
*Note: RCI recommends you use the Anaconda channel “conda-forge”, it is the most widely supported. This will be the default in the below commands.
Create a new mamba environment for your specific R version:
mamba create -n <name_of_environment> r-base='<name_of_R_version>
# For example:mamba create -n r3.5.1 r-base='3.5.1'
Verify successful creation of the Mamba environment:
mamba env list
# conda environments:
#
r3.5.1 /home/<your_net_id>/.conda/envs/r3.5.1
The first column shows you the names of your mamba environment. The second shows you the location of your mamba environment
Running RStudio-Server with specific R version
-
To access a web-based RStudio environment running on Tempest, follow the instructions below:
-
Navigate to the Tempest web access login page
-
Enter your NetID and Password to sign in to Tempest
-
- Open the RStudio initialization page
- Select the "Interactive Apps" Dropdown menu from the the top bar
- Select from the dropdown "RStudio on Tempest"
- Select the resources and account to run your RStudio session
- Select RStudio-Mamba on Tempest from the left sidebar
- Select the account and partition
- Note: Your partition must match your account.
- E.g. if using priority-<account_name> account, you must specificy the "priority" partition.
- If using group-<account_name> account, you must specify the "unsafe" partition
- Note: Your partition must match your account.
- Select the compute resources you will need for your session
- Note: Fewer resources will fit into the queue faster and your session will be more
likely to start immediately. Use the bare minimum resources necessary.
- E.g. For a simple rscript to process a dataframe < 1 GB in size, 8 CPUs and 2 GB of memory is plenty
- Note: Fewer resources will fit into the queue faster and your session will be more
likely to start immediately. Use the bare minimum resources necessary.
- Select the number of hours you will need for your session
- Note: you can save scripts and re-open them in different sessions, but session data will not be saved. Be sure to save all final results as output files.
- Launch your RStudio session
- Connect to your RStudio Server session
- Once resources are available on the cluster for your session, it will automatically start. To enter the session click "Connect to Rstudio Server"
- Open a new Rscript and begin using RStudio
- Note: Any packages installed will be specific for this R version and will be available in future sessions
# To install a package:
install.packages("<package-name>")
# In a future session, you can use:
library(<package-name>)