Updating MSU-Branded Full Template

This tutorial will guide you through the steps of utilizing the MSU-Branded Full Course Template that you imported from Canvas Commons.
Navigate to Course Home Page
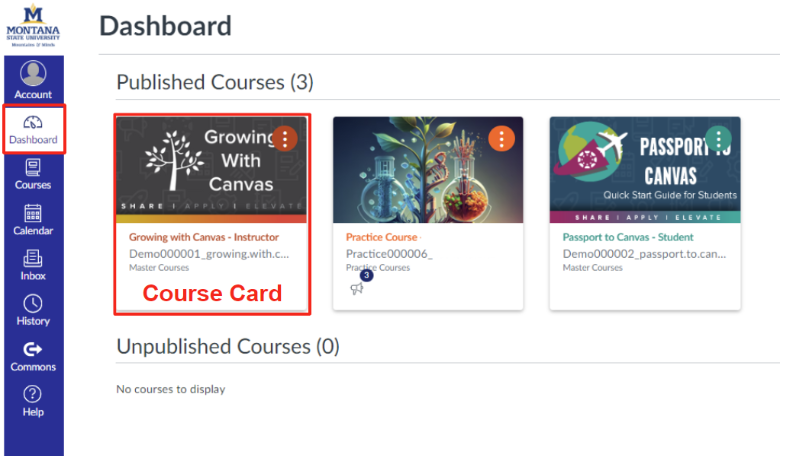
- When you log in, you will be in your Canvas dashboard. Select the desired course by clicking on the course card.
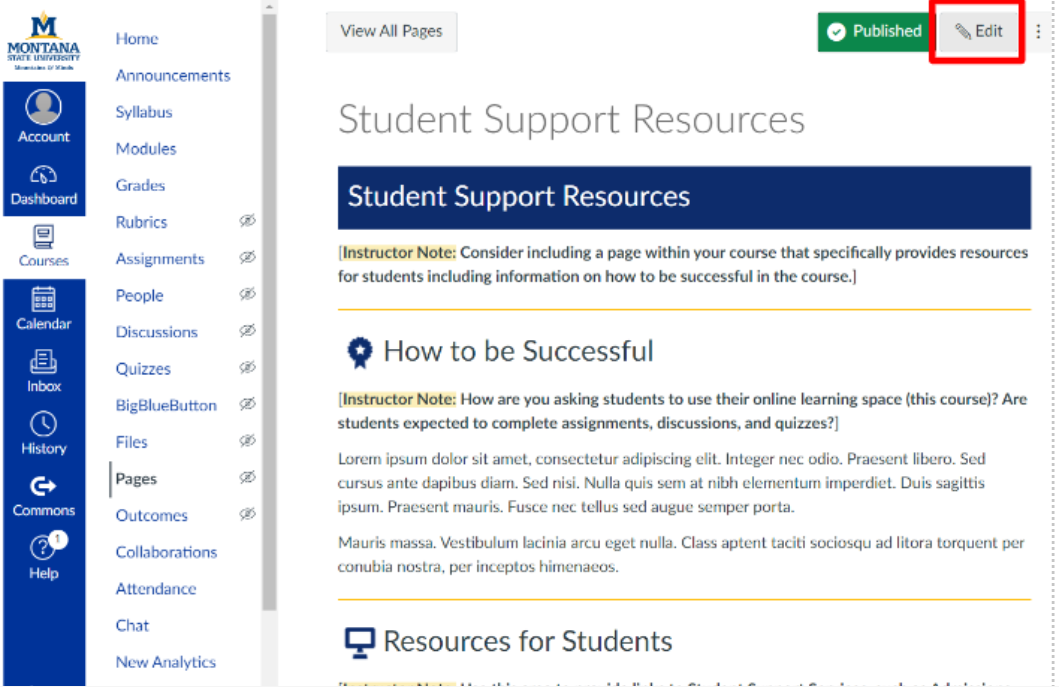
2. Click Edit in the upper right corner to update your course Homepage.
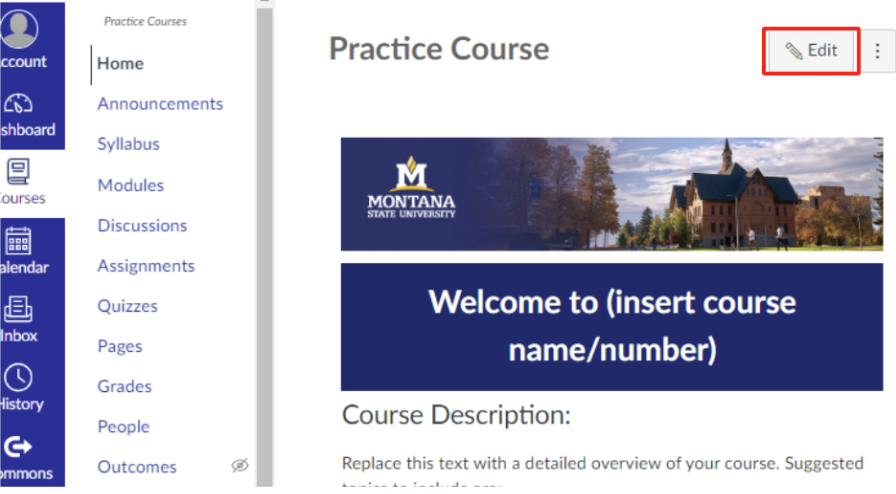
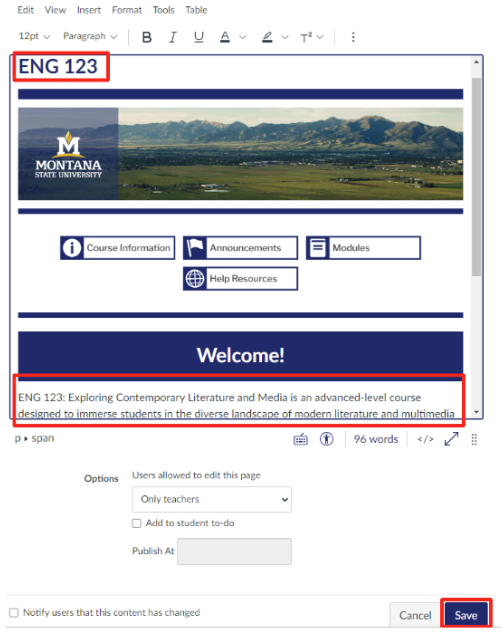
3.You will need to update your Course Name/Number and the introductory message under the welcome section. Click Save when you’re done.
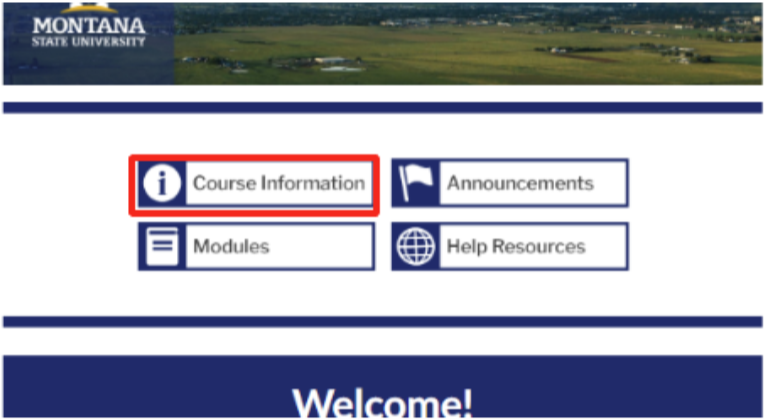
Course Information
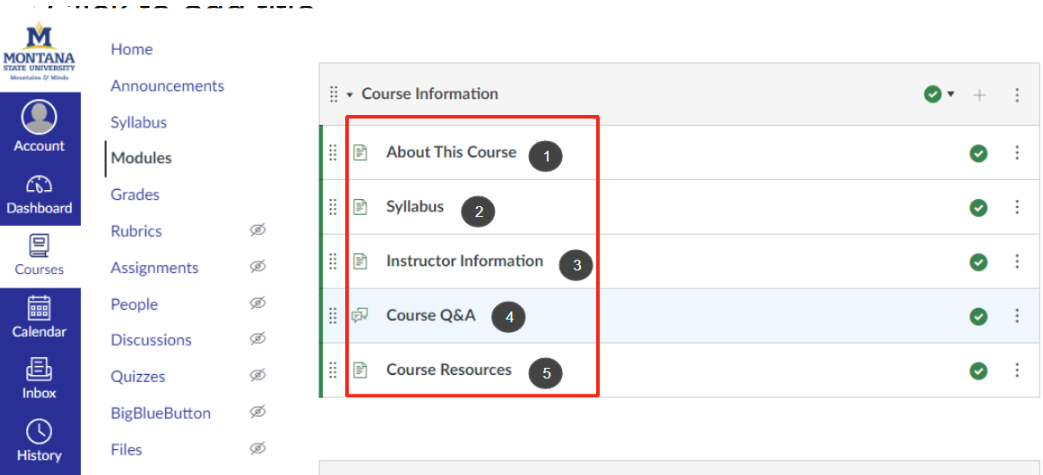
- From the Homepage, select the Course Information button. You will be redirected to a premade module titled “course information.”
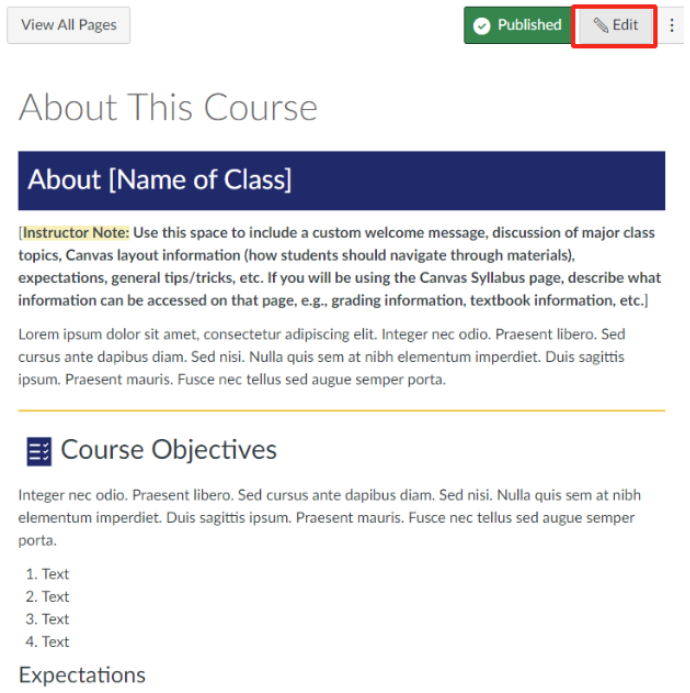
- Click on each title to access the page. (ex. About This Course)
- Click edit to fill in the page information. Then click Save at the bottom of the page to keep your changes.
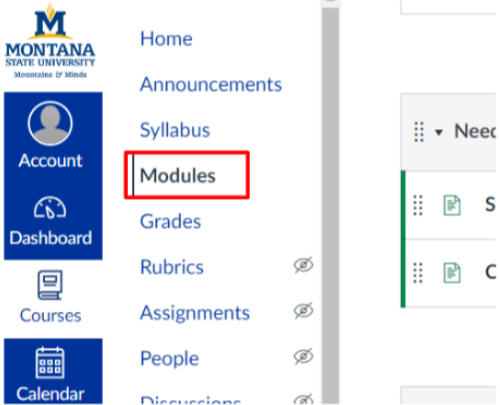
- To return to the Course Information module to edit the other pages, select Modules from the course navigation menu on the left.
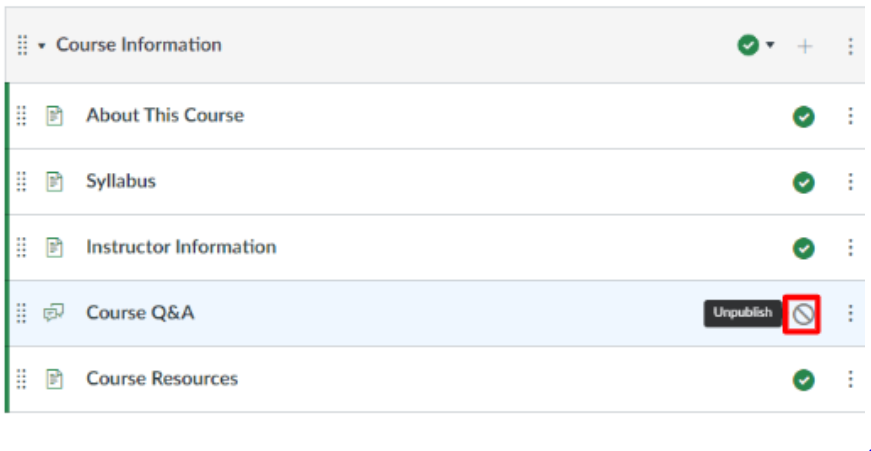
5. Repeat steps 6-7 for the syllabus, instructor information, Q&A, and course resources pages. If there is a section that you choose not to use, you may click on the green checked circle on the right side of the box to “unpublish” that item.
Note: If you do not wish to use any of the pre-built template pages, please ensure that you add your own into the Course Information module so that students are directed to the correct place from the homepage button.
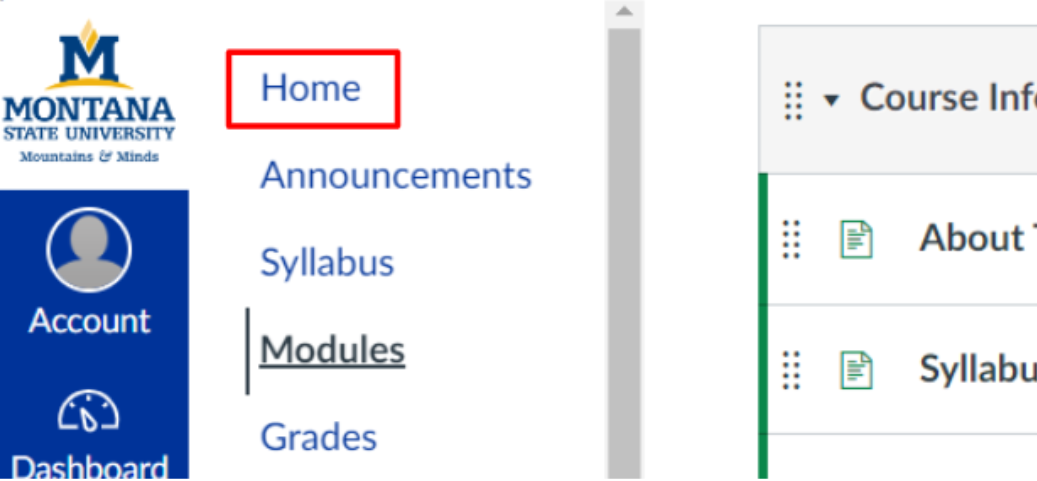
6. Return to the homepage by clicking home from the course navigation menu on the left.
Help Resources
- From the homepage, select the Help Resources button.
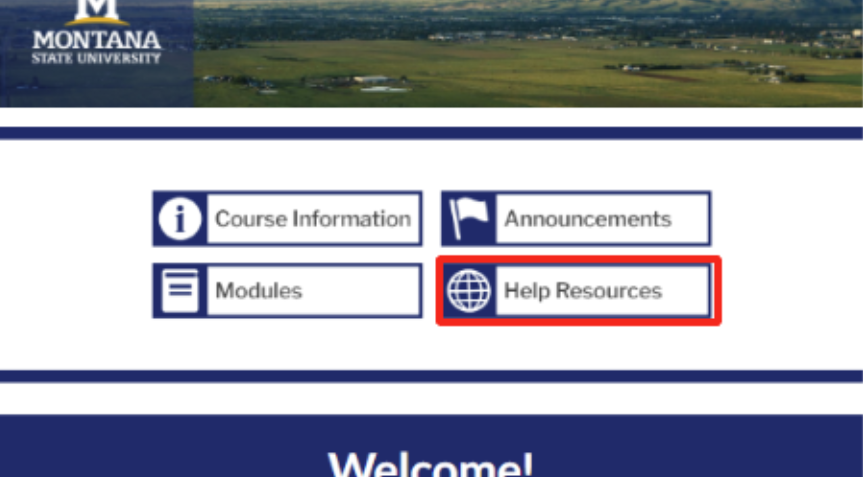
- You will be redirected to a pre-made module titled “Need Help?”
- Update each of the items [1-2] under this module by clicking on the name of each item to access the page.
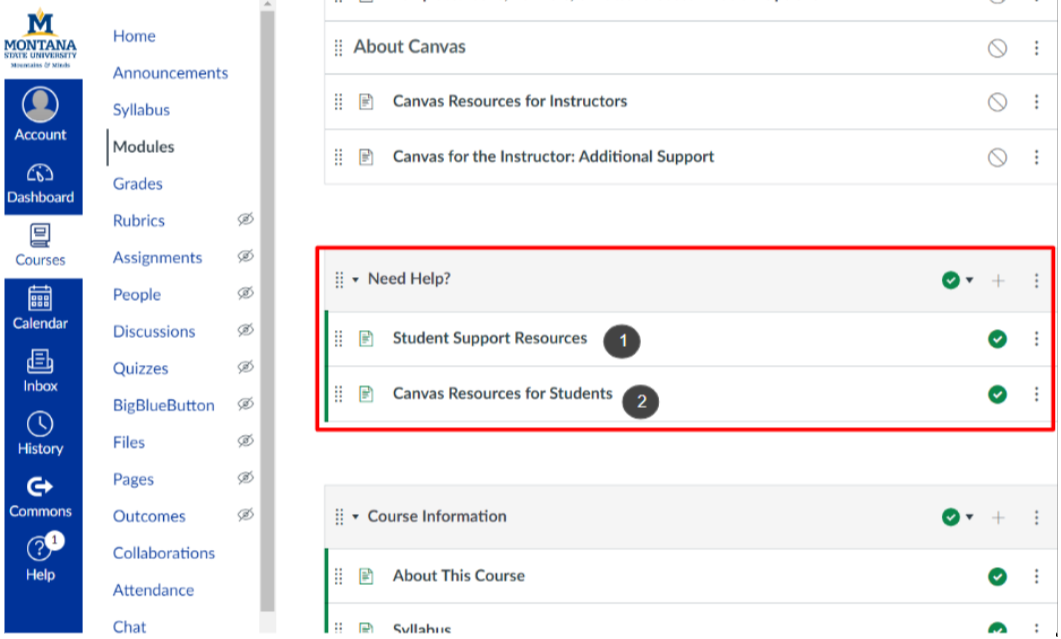
- Click edit to adjust the information to fit your class. Then, click Save at the bottom of the page.
- Repeat steps for the page Canvas Resources for Students. If there is a section that you choose not to use, you may click on the greenchecked circle on the right side of the box to “unpublish” that item.
Note: If you do not wish to use any of the pre-built template pages, please ensure that you add your own page or information into the "Need Help" module so that students are directed to the correct place from the homepage button.
Announcements
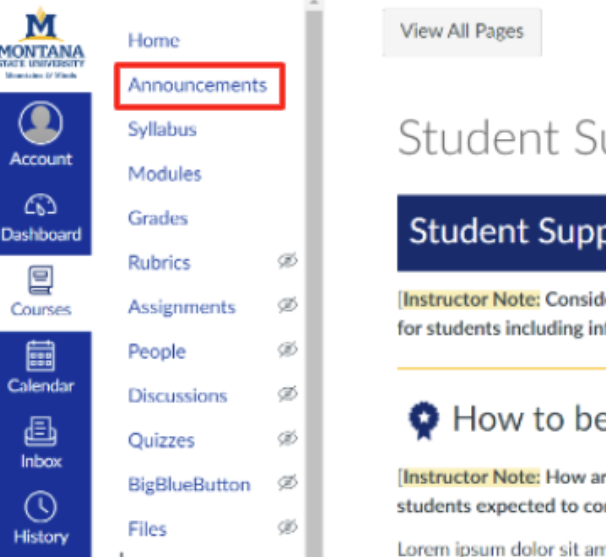
- Next navigate to your announcements by clicking Announcements from the course navigation menu.
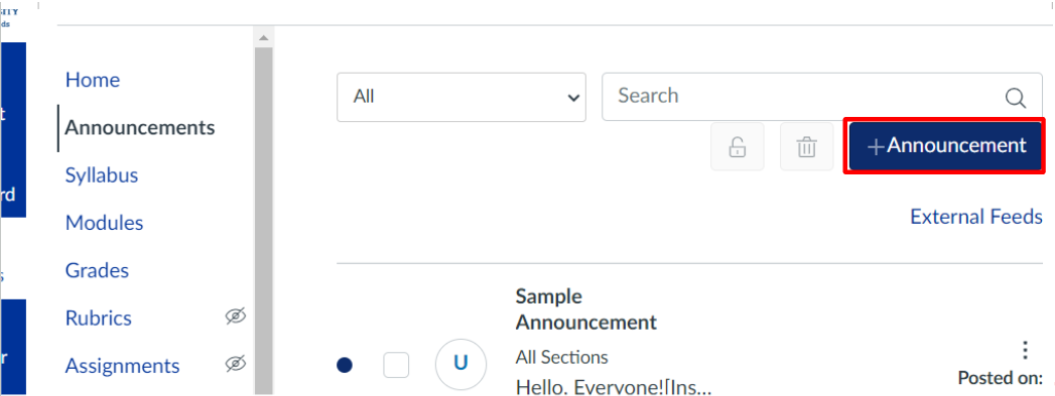
2. To add an announcement, click on the announcement button. Then, click the +Announcement button on the right side of the window.
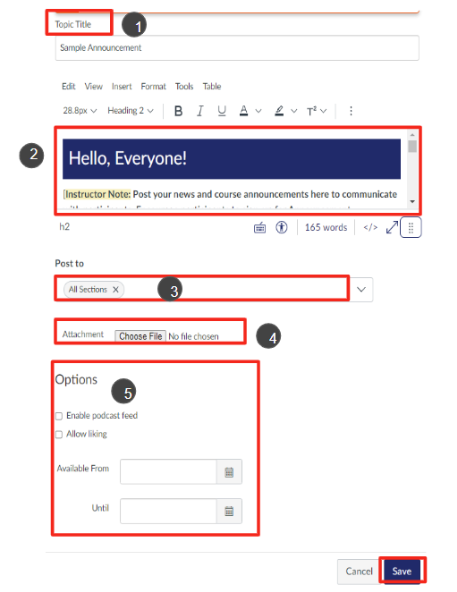
3. In the announcement edit window, add a title [1], edit/add your content [2], choose the sections to post to [3], click choose file if you would like to add an attachment [4], and review the options [5] for your post. Click Save at the bottom right when you’re done.
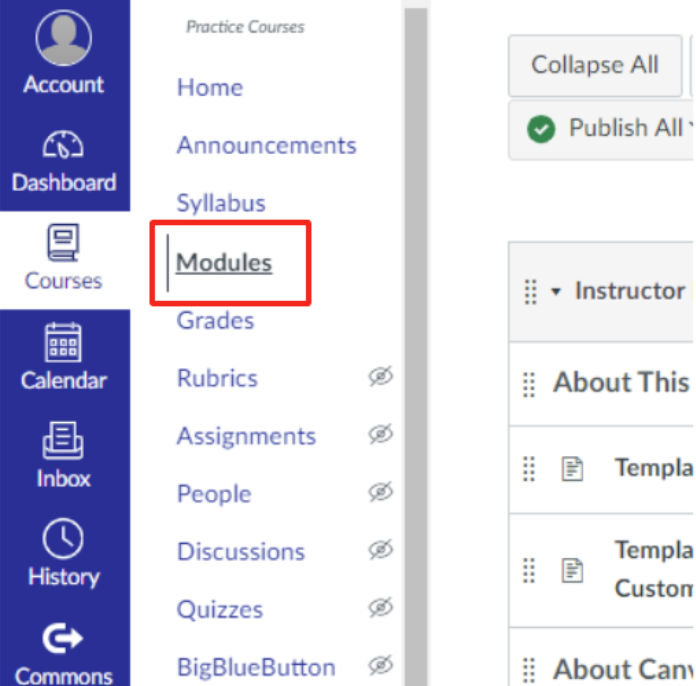
Modules
- Navigate to your Modules by selecting it from your Course Navigation Menu. This will take you to your premade module with content samples. These may be used as a guide or can be duplicated to fill your course.
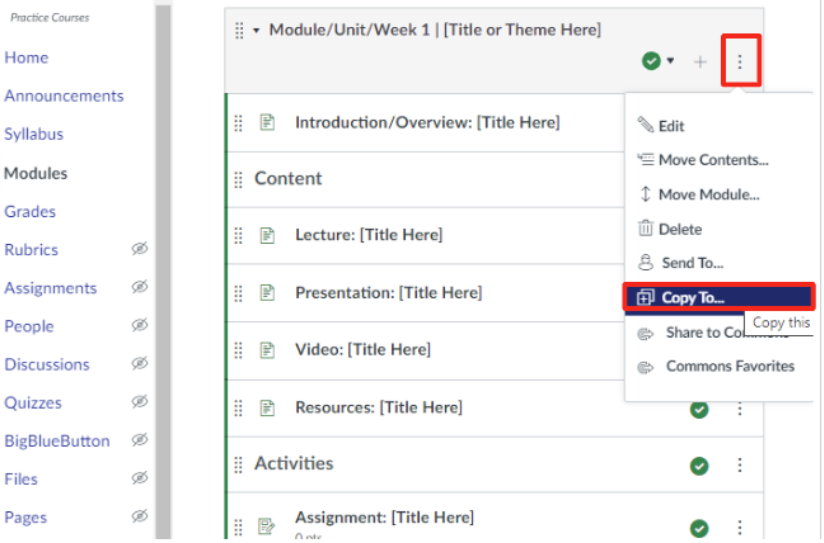
2.Locate the sample module.
3.You can copy the module as many times as needed to fit your course (ex. # of units, topics, week, etc. in your course).
4. Clickon the 3 dots on the right of the module title and scroll down and select "Copy To..."
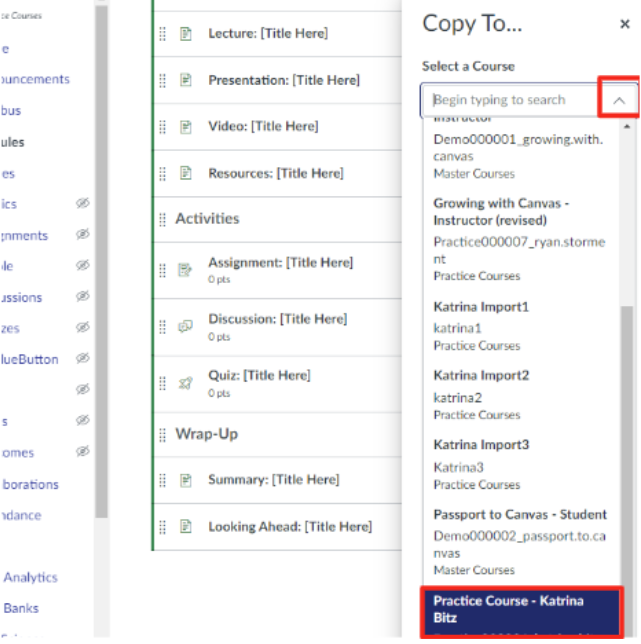
- Next click on the dropdown arrow, scroll through the courses, and click on the desired course.
NOTE: should be the course you're in.
4.After you've selected the course, click Copy
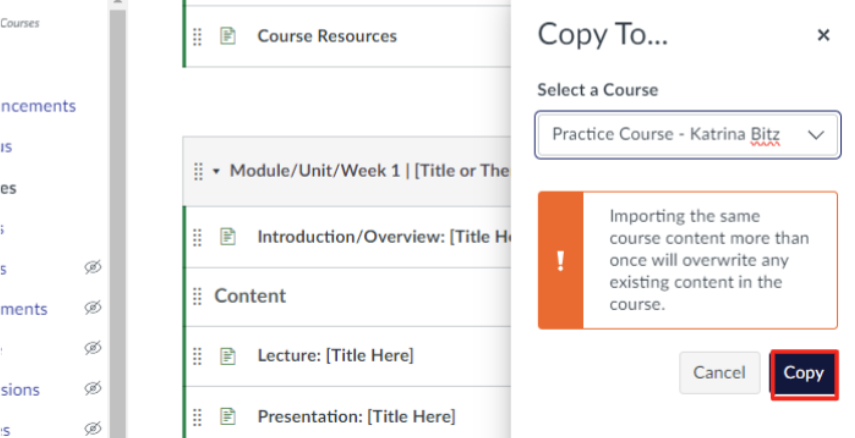
Note: When importing, you will see a warning message, which is only a concern if you edit content in a new course shell and then re-copy the same content from the original shell, as this will overwrite your edits.
- You'll receive a message that the copy was successful.
Note: The copied module may take a minute to populate, and you may need to refresh your browser.
- Repeat as many times as needed until desired number of modules are made. Click close when done.
Add Content
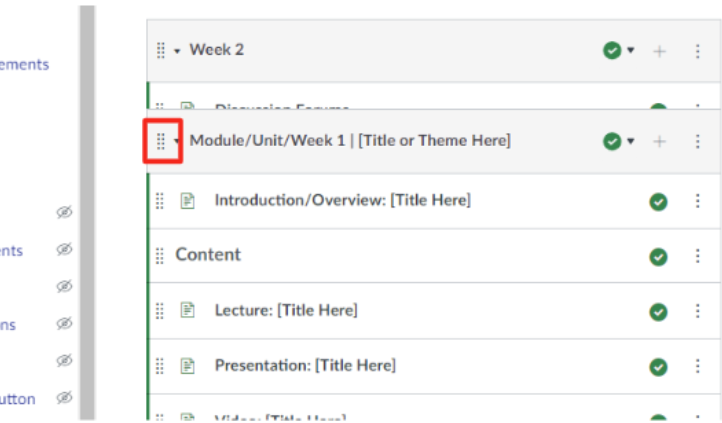
- Rename your modules to fit the structure of your course by clicking the 3 dots on the right of the Modules title bar and select Edit.
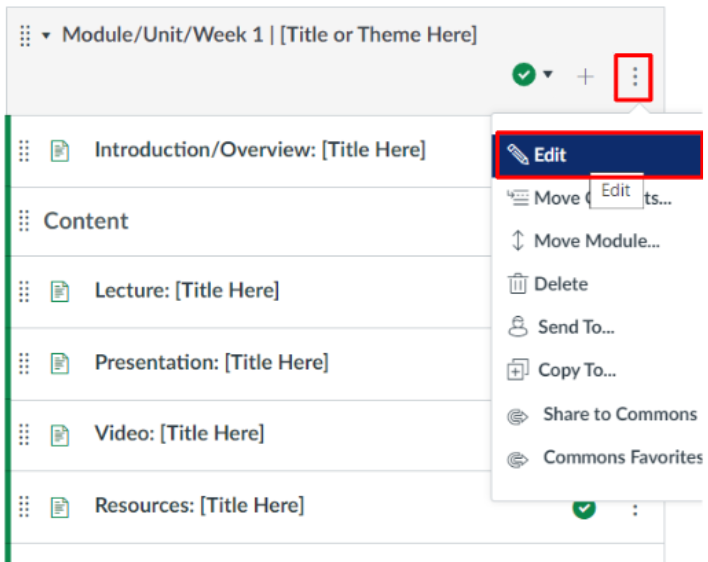
2. Delete the provided title and type in your own. Once finished, click Update Module.
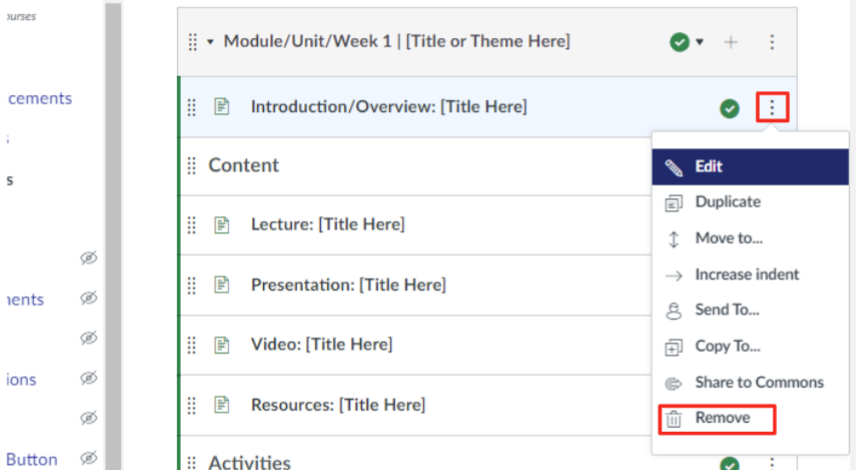
3. Identifycontent that will not be necessary in each module and delete the content item(s) by clicking on the dots to the right of the activity and selecting Remove.
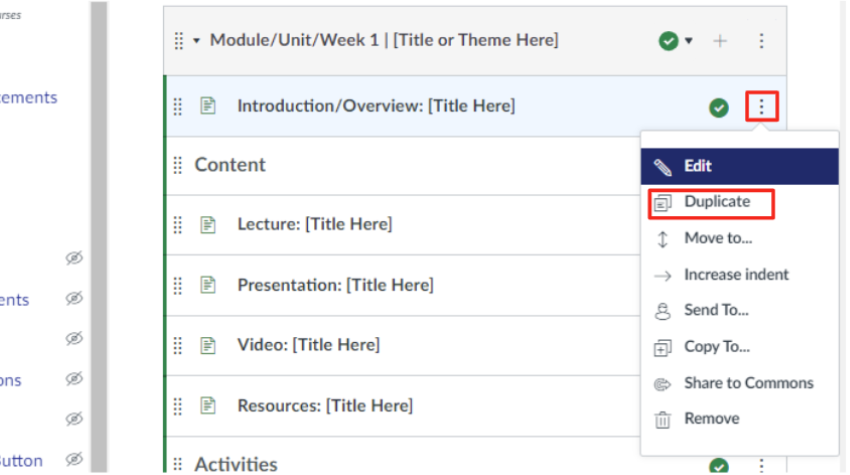
4. To create additional template content, you will need to choose the specific item (ex. Assignment, quiz, discussion), click on the 3 dots on the right of the item and select Duplicate. This will make a copy of the item right below your original.
Edit Content
- Edit each item individually by clicking on the name. This will load the detail or settings page of the item.
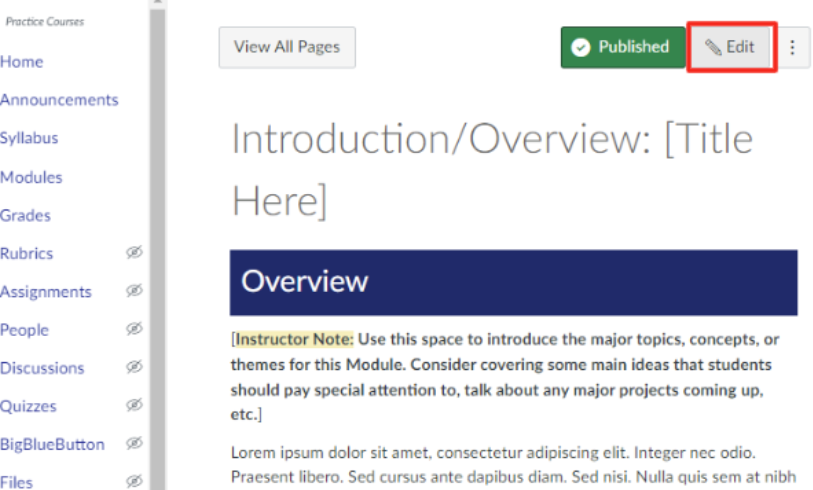
2. Then select Edit in the top right corner. This will take you to the edit window.
3.Make your adjustments in the edit window and click Save when you're done to keep your changes.
Reorder and Organize Content
- Reorder and organize your content items by clicking and dragging the 8 dots on the left of the item to the desired spot.
Note: You can move items within modules or to new modules.
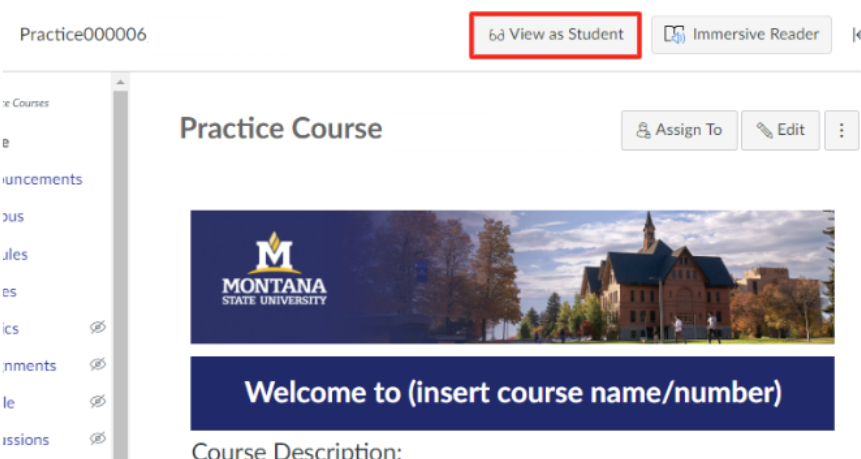
- Return to the homepage by clicking Home from the course navigation menu on the left.
Student View
- From there you can click on View as Student in the top right of the page to see how your course looks. View tutorial(link to Canvas resource) on how to use student view.